Leaks are annoying, whether it’s a lingering drip or a nagging wet spot in the bathroom. One common culprit many households face is the dreaded leaking showerhead. This relentless issue can drive you nuts as it not only wastes water but money as well. Stand tall; we’re here to guide you on how to tackle and potentially solve this plumbing problem with ease.
Contents
- Identifying Showerhead Leakage Issues
- Preparations for Leaky Showerhead
- Tactics for Leaky Showerhead Fix
- Importance of Water Supply Cut-off
- Proper Cleaning of Showerhead
- Assessing and Replacing Worn Seals
- Showerhead Reattachment and Testing
- Solution for Leaking Shower Mixer Valve
- Safety Concerns: Leaking Electric Showers
- Next Steps for Unfixable Leakage Issues
- The Takeaway
Identifying Showerhead Leakage Issues
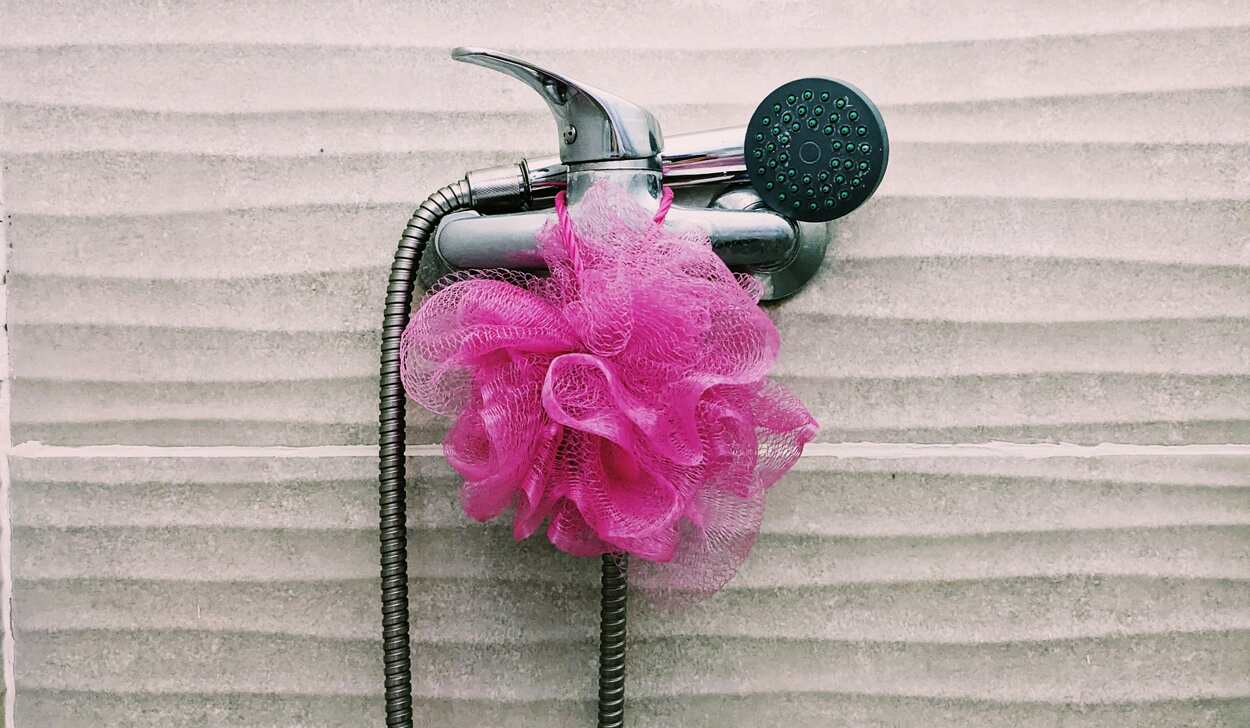
Detecting a leaky showerhead is often straightforward—you find water constantly dripping long after your shower. However, the severity of the leakage can vary. A showerhead should not leak more than 10 drops per minute when turned off. If your tap is highly disobedient to this rule, save yourself frustration and water costs by seeking professional help.
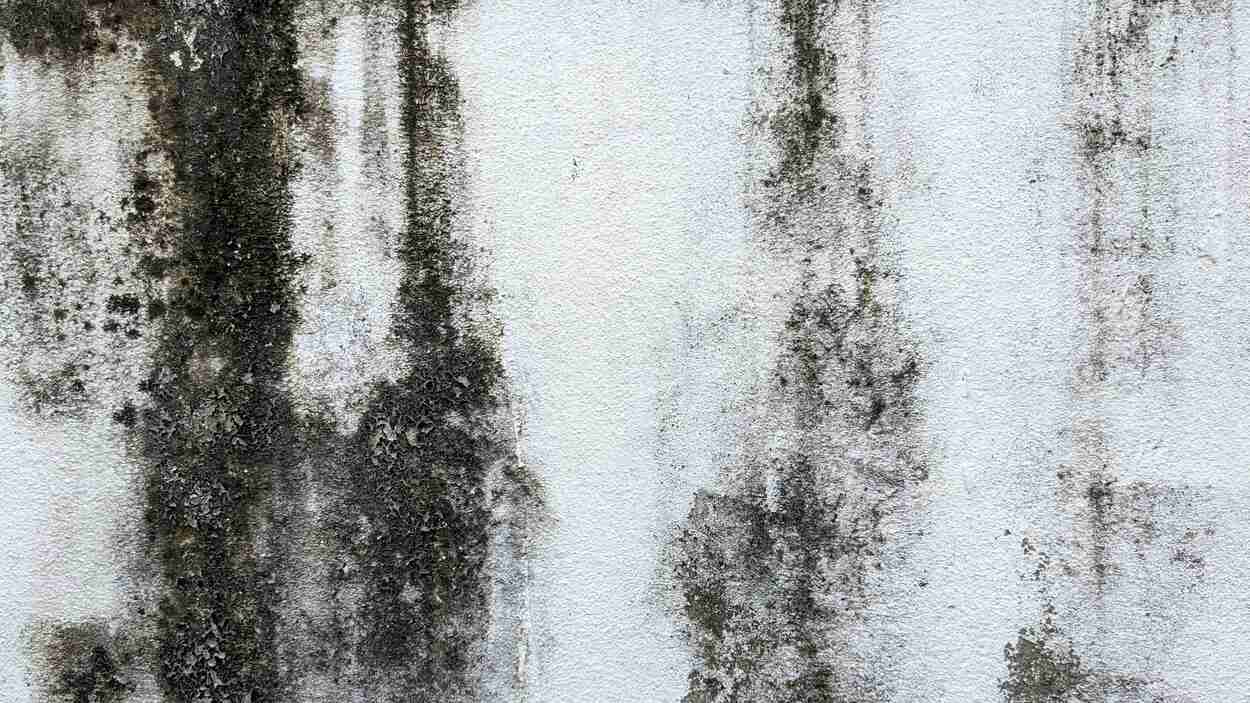
The appearance of mould or mildew on the walls or ceiling below the shower is another clear sign of leakage. These might point towards problematic valve seals within your tap mechanism—an issue warranting expert attention.
Preparations for Leaky Showerhead
Before diving headfirst into resolving the leaky showerhead predicament, some preparations need to be made. Gather essential tools like a wrench, a screwdriver, a hex key, and possibly lubricants or other fasteners from your mechanical engineering toolbox. These are vital for numerous steps, including detaching the showerhead and valve from the tap setup.
The workspace around your bathroom tap needs clearing out to allow for easy access and prevent any accidental damage to home appliances or manufactured goods present in the vicinity. Also, remember to have an absorbent cloth available to mop up any residual water once the system is shut down.
Tactics for Leaky Showerhead Fix
Finding your shower dripping incessantly is certainly frustrating; however, the solution might be simpler than you expect. Once equipped with your tools, start by focusing on your showerhead and unscrew it. This can usually be done by hand, but if it’s tough to manoeuvre, use a wrench or pliers.
After removing the showerhead, look out for any sediment within the unit. Calcium deposits or debris could cause blockages and misdirect water flow causing leaks. Even a tiny pebble can deviate enough water pressure to result in leakage. Be vigilant with your inspection to make sure nothing is overlooked.
Importance of Water Supply Cut-off
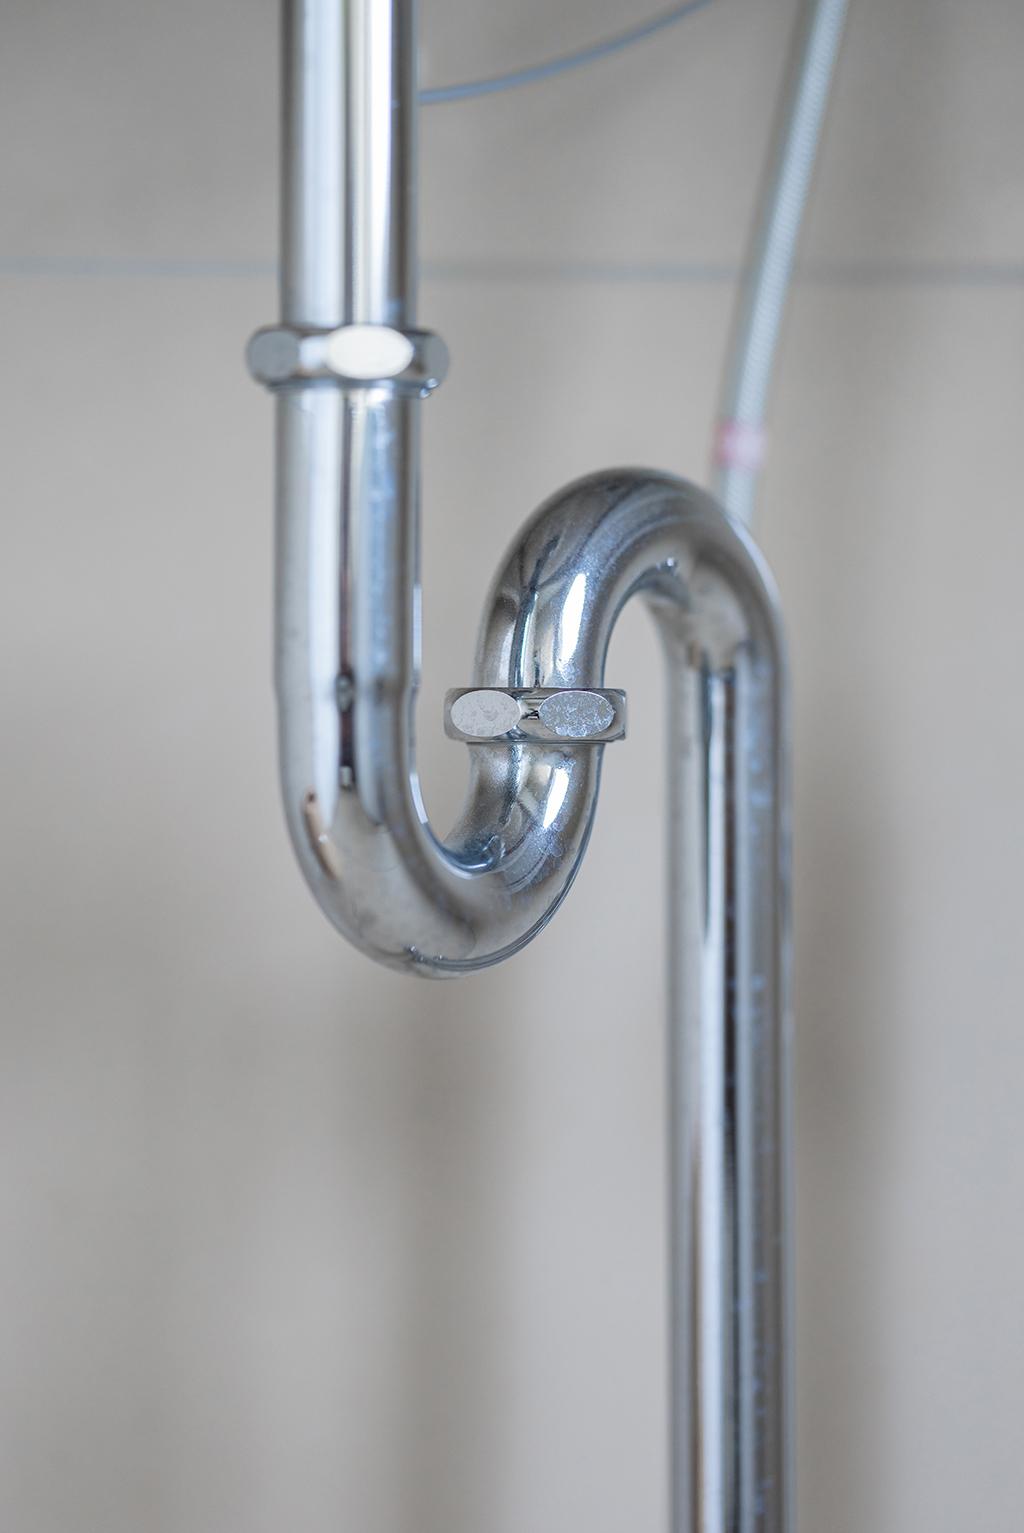
The crucial task before any plumbing adventure commences—shutting off the water supply. This step is paramount to keep your space dry and manageable while you dismantle parts of your shower mechanism. The cut-off point can usually be found in your home’s main water system or individual shut-off valves for bathroom fixtures.
Always remember to close this valve tightly to prevent any sudden water gushes while working. As an added precautionary measure, open the taps in the sink and shower to drain present water inside the pipes.
Proper Cleaning of Showerhead
Once you have identified that a clogged-up showerhead is responsible for the leak, chucking it won’t always be necessary. Simply soaking the head in vinegar for several hours should do the trick—the acetic acid acts as a natural dissolvent to break down limescale and other mineral build-ups.
Hasting this process isn’t advisable; let nature take its course! After removing from vinegar soak, rinse thoroughly under warm water ensuring every nook is debris-free, then simply reattach and test run.
Assessing and Replacing Worn Seals
A trouble spot not to be overlooked lies within your shower tap—the valve seals. These mechanisms are tasked with controlling the water flow, and a worn, damaged or poorly fitted seal might well be the leak culprit. Inspecting these parts for any signs of wear will require some dismantling using a hex key or screwdriver.
If your seal appears damaged or decayed, replacements must be found quickly! You can pick these up from most DIY stores; replacing them isn’t highly technical but requires patience and precision. Once done, reassemble the tap mechanism, turn the water back on and test.
Showerhead Reattachment and Testing
It’s frustrating when the tap (valve) or showerhead starts leaking. Sometimes, in all that bother, we can overlook the simplest solution – reattaching and testing. Remove the showerhead using appropriate tools, like a screwdriver or hex key, depending on the fasteners used. After removing it, check for any visible signs of damage or wear, such as faulty cartridges (firearms analogy for grasping) or worn-out rubber seals.
If there isn’t any visible damage, apply a generous amount of plumber’s tape or liquid dielectrics – essentially lubricants that assist performance and prevent leakages. Reattach the showerhead to the bathroom plumbing system and test for leaks. If this doesn’t solve your problem, let’s delve further into your hydraulic engineering concerns.
Solution for Leaking Shower Mixer Valve
The heart of your shower system is the mixer valve. This operates much like a tap (valve), blending hot and cold water to the perfect temperature. However, as a heavily utilised piece of equipment, it often bears the brunt of most mechanical wear. Over time, this may result in leaks which are generally due to worn-out valve components.
Once you’ve isolated the leak to the mixer valve, one possible solution is to replace this valve cartridge entirely. Depending on the model of your shower system and corresponding mechanical engineering, this will require specific tools – often a hex key or wrench. Once replaced, please ensure you retest your system’s water flow and check again for leaks to confirm resolution.
Safety Concerns: Leaking Electric Showers
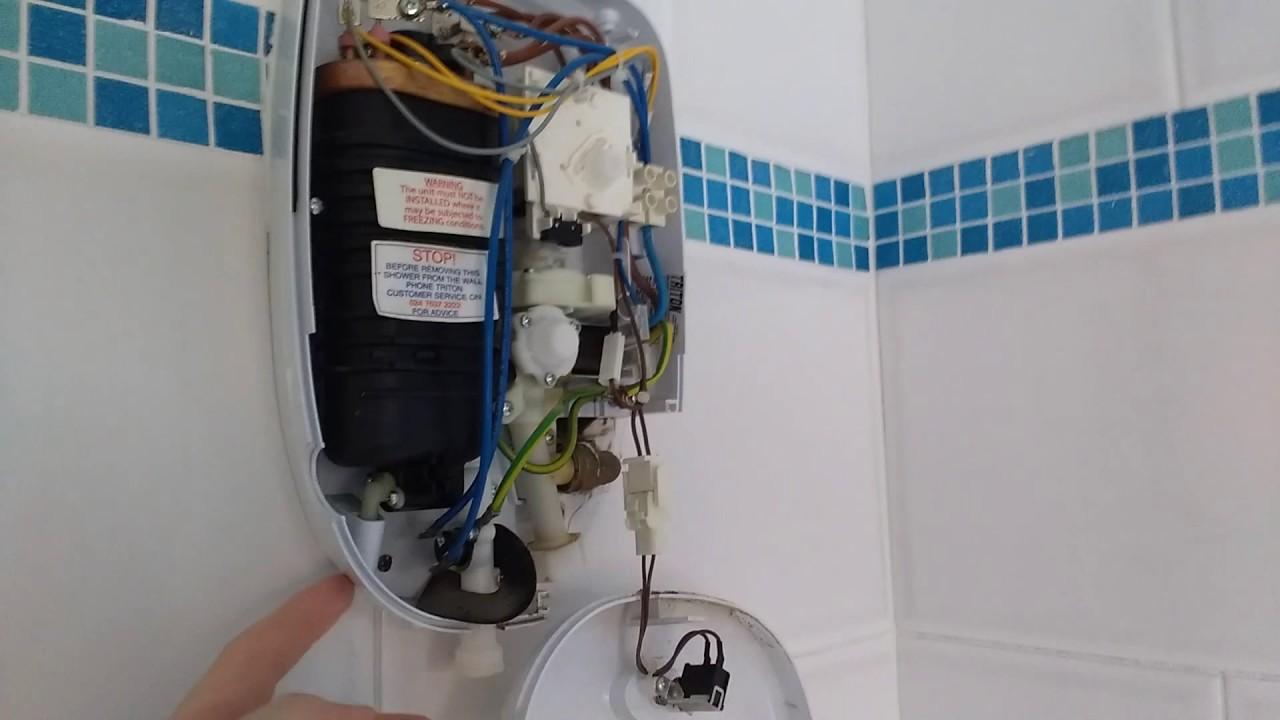
Safety first is more than just a tagline when dealing with leaked electric showers – it should be your mantra! Water and electricity do not mix, and a leaking electric shower can be a significant risk. If your electric shower is leaking, stop using it immediately and turn off the power.
Although this safety concern might require professional intervention, you could try to inspect the shower unit for any visible damages or loose parts. However, remember that your health and safety always come first, so consulting a certified electrician or plumber is recommended. As mentioned by Better Health Victoria, one should always exercise safety while dealing with electrical appliances.
Next Steps for Unfixable Leakage Issues
When all DIY attempts fail to resolve the leakage issue in your bathroom plumbing system or you spot major structural damages like cracks and warps on transparent materials, contacting professionals is the right way forward. At Dan’s Plumbing, our specialised team can diagnose the issue and get your shower up and running again swiftly.
In situations where replacement parts are needed for your hydraulic engineering system, we have a broad range of manufactured goods from taps (valves), and screws to building materials. With state-of-the-art tools at our disposal, we ensure reliable construction and a long-term solution to your water-related woes.
The Takeaway
In conclusion, rectifying leaking shower heads or valves may be as simple as minor DIY fixes or require professional assistance depending on complexity. It’s crucial to ensure safety when dealing with leaks in electric showers and contact a certified professional. Dan’s Plumbing provides premium quality services backed by expertise in hydraulic engineering, ensuring ultimate customer satisfaction. We’re only ever a call away to end your water leak stresses!
Related posts:
 Dripping Tap Driving You Crazy? Dan’s Plumbing Can Fix It for a Peaceful Kitchen
 Leaking Garden Tap? Dan’s Plumbing Provides Quick and Lasting Repairs
 Upgrade Your Showerhead for Water Savings: Eco-Friendly Plumbing Solutions
 Uh Oh, Leaky Tap! Do Not Panic, Dan’s Plumbing Can Fix It Fast
 Toilet Troubles? Do Not Fret, Dan’s Plumbing Has the Solution!
 Mystery Leak? Dan’s Plumbing Can Help Find the Culprit and Fix It Fast