Contents
Concept Behind Tap Functioning
Your tap’s design isn’t random engineering; it’s a marvel of mechanical engineering and hydraulics working together to control the water flow in your home. Tap (valve) uses principles of hydraulic engineering to regulate the flow of water. It comprises mainly two parts: a handle and a spout. When you twist the valve, the screw-like mechanism inside moves up or down controlling the water’s passage.
Primarily, when you rotate the handle anti-clockwise, it untightens the washer against the valve seat, allowing water to pass through. Conversely, rotating the handle clockwise tightens the washer blocking any water movement. The process seems simple but count on elements like pressure, volume and even the material of your tap to guarantee a leak-free valve experience. How Taps Drip Unwillingly
A myriad of reasons exists behind how taps unwillingly become leaky. Often, wear and tear takes its toll on the tap (valve), causing it to drip, despite being tightly shut. Over time, metal corrosion, mineral build-up, and deteriorating seals turn your tap from a faithful water dispenser into an unwanted water dripper.
Other possible culprits include improper installations and the consistent high water pressure that can rush past the seals. The construction of your valve could even be a factor. Regardless of the cause, addressing these drip syndromes promptly saves you from a higher water bill and radically extends your valve’s life span.
Addressing Dripping Taps Immediately
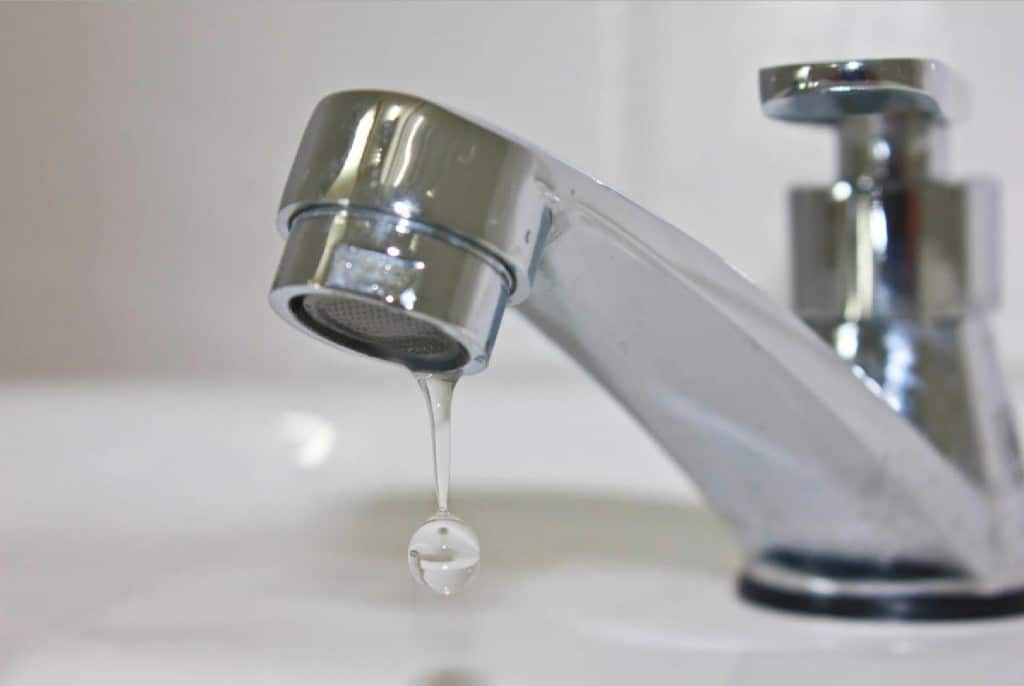
Likewise in plumbing, an ounce of prevention is worth a pound of cure. Addressing drippy taps pronto prevents unnecessary wastage of water. According to Water Corporation, a dripping tap can waste up to 20,000 litres per year – outlandish when recognized at the onset. Furthermore, prolonged leaks could cause damage not just to your pipes but potentially to your home’s structure too – think wet walls and damaged floors.
Sometimes it might seem tempting to ignore a minor leak; It’s just a little water droplet after all, right? Wrong! Continually ignoring these warning drips might end up costing you more long-term in substantial repair bills. Be proactive and call the professionals when in doubt – better safe than shopping!
Guide on Tap Valve Replacement
The heart of any tap function lies in its internal valve system, where if faulty typically means replacement. Panic not! Replacing valve components comes down to identifying your tap’s model and buying the correct parts – most times it’s usually the washers or O-rings disintegrating under constant strain.
Equipment like adjustable wrenches, screwdrivers and your new valve components are all you need to replace your old valve. After turning off your water source, open the tap to relieve pressure. Carefully unscrew the cap covering the valve, remove old worn-out parts and replace them with new ones. Once done, reassemble your tap and voila! No more drips.
Mending Compression Valve Taps
Dealing with a compression valve tap leak? It’s often because the rubber washer within has worn out. This style of tap shuts off water flow via the washer pressing against a valve seat – hydrants outdoors are a typical example of compression valves. To repair, simply remove the handle and packing nut to access the stem. Remove the damaged washer and replace it with an identical one. Remember, lubricants play a crucial role in ensuring a smooth operation, never skip this!
Compression taps may drip from the spout or leak from around the handle. If it’s leaking from the spout, swap out the washer; if it’s leaking around the handle, consider replacing both the packing nut and washer for optimal results. And if all else fails, contact your trusted professionals at Dan’s Plumbing.
Handling Ceramic Disc Valve Taps
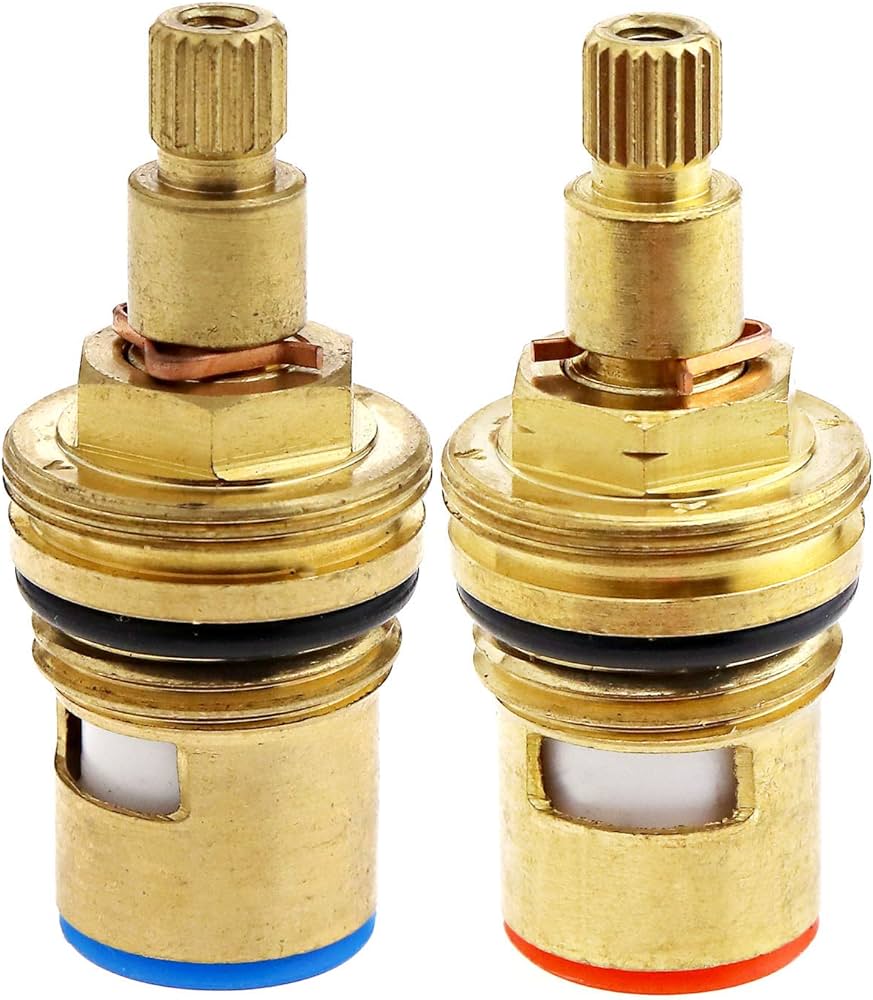
Ceramic disc valves have quickly become a favourite among homeowners and commercial establishments alike for their durability and ease of use. Resistant to wear and corrosion – thanks to their two ceramic discs that slide against each other – they require less maintenance than traditional compression valves.
When fixing ceramic disc taps, always remember to refer back to your manufacturer’s instructions; they might have specified materials required or unique steps needed during the repair process. However, if you find yourself constantly facing issues despite following guides meticulously, don’t hesitate to call upon professional help.
Changing a Tap Valve O-ring
When it comes to tackling a leaky tap, the tap valve’s O-ring is often the culprit. Over time, the O-ring, a vital component in your tap’s valve system devoid of any hydraulic engineering complexity, can degrade or lose its proper seal.
Your local hardware store should carry replacement O-rings for all types of taps. To change it, you’ll need to remove the valve from the tap. Just make sure to apply plenty of lubricants since sticky valves can be a common plumbing issue.
Replacing a Damaged Tap Spout O-ring
In other instances, you may discover that the source of your leak isn’t in the valve but at the spout itself. Again, this problem is often related to a faulty O-ring. Worn out by water and use over time, these little rubber loops are often at the heart of our home appliance distress.
As with changing an O-ring on a tap valve, this DIY job requires only simple tools and equipment. However, dealing with water always needs caution. Make sure you shut off your water supply before you start!
Addressing Your Dripping Tap
No one likes hearing the irritating drip-drip-drip from a leaky tap. Not only is it annoying, but it’s also wasteful and could drive up your utility bills. Since every drop matters in environmental engineering, addressing your dripping tap promptly is essential.
Occasionally however, it’s not as simple as changing an O-ring or tightening some loose components – conducting pipeline explorations is sometimes necessary. In such cases it might be best to call an expert like us at Dan’s Plumbing for assistance.
Diverse Tap Varieties Overview
One important thing to remember is that all taps are not created equal. Materials vary, from solid metals to clear transparent materials; so, too, do the specific designs. Some incorporate complex hydraulic engineering principles, while others are much simpler.
The type of tap (valve) in your sink or bathroom could make a difference when it comes to repair work. It’s always helpful to know what kind of tap you’re working with before rolling up your sleeves and getting started.
Conclusion
In conclusion, tackling a leaky tap is often straightforward, requiring minimal tools and a bit of patience. However, whether it’s replacing an O-ring or deciphering diverse tap varieties, if you feel overwhelmed by doing it yourself, remember – Dan’s Plumbing is just a call away.
Related posts:
 Dripping Tap Driving You Crazy? Dan’s Plumbing Can Fix It for a Peaceful Kitchen
 Leaking Garden Tap? Dan’s Plumbing Provides Quick and Lasting Repairs
 Leaking Showerhead Driving You Nuts? Dan’s Plumbing Can Help
 Mystery Leak? Dan’s Plumbing Can Help Find the Culprit and Fix It Fast
 Toilet Troubles? Do Not Fret, Dan’s Plumbing Has the Solution!
 Plumbing Peace of Mind: Professional Preventative Maintenance for Your Home


